Choose the Right Privacy Fence for Trash Cans
Selecting the perfect privacy fence for trash cans is essential. Consider options like pvc, lattice, and vinyl privacy fence panels. These materials offer durability and a sleek appearance that complements your outdoor decor. Look for products designed specifically to hide trash cans, such as a privacy screen fence or a freestanding screen enclosure.
DIY Privacy Fence: How to Build a Quality Vinyl Trash Bin
Step 1: Construct a Concrete Form
Start by creating a concrete form using 2x4s. Cut these with a circular saw and fasten them with screws for easy removal after the concrete has set. Size the slab according to your trash bins. Place the form and use spray paint to outline dig lines.
Step 2: Ground Excavation
Dig out a small section within the marked lines to create a base for gravel. This aids in concrete slab drainage.
Step 3: Lay a Gravel Foundation
Evenly distribute several bags of gravel in the excavated area. Replace the wooden form and check that it is level on all sides.
Step 4: Add Support Reinforcement
Place wire mesh or rebar inside the form to strengthen the concrete slab. Secure it with wooden stakes, ensuring they are below the surface during pouring.
Step 5: Mix and Pour Concrete
Wet the gravel before pouring concrete to retain moisture. Mix concrete in a rented mixer, adding water first, then concrete bags. Adjust wire mesh midway during pouring and distribute the mix evenly with a hoe.
Step 6: Screed and Smooth
Use a straight 2×4 to screed the concrete level with the edge of the form. Smooth out the surface using a concrete float.
Step 7: Install Concrete Anchors
Embed post anchors into the wet concrete, aligning them evenly. Smooth and round off slab edges with an edging tool, then let it cure. Remove the form after a few days.
Step 8: Attach Vinyl Fence Posts
Measure your largest bin’s height to determine the fence height. Cut vinyl posts to size, if necessary. Place the first post, check alignment, and secure it with a clamp. Drill holes, then use galvanized bolts, washers, and nuts to attach it to the anchors. Repeat for the second post.
Step 9: Install Vinyl Fence Panels
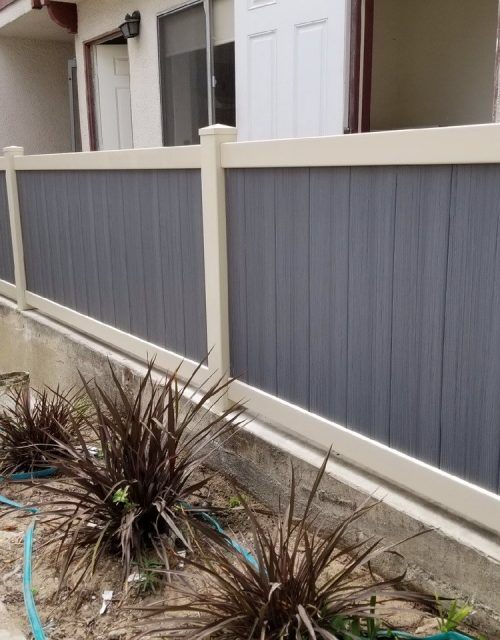
Opt for vinyl fence panels for durability and easy maintenance. Cut panels to size and attach the first panel to the post, ensuring it’s level. Use spacers for consistent gaps between panels, securing each with vinyl fasteners.
Step 10: Apply Finish
Vinyl fencing generally requires minimal maintenance. However, if desired, apply a vinyl cleaner to maintain its appearance and ensure a long-lasting finish.
Incorporate Greenery and Garden Elements
Integrating greenery can enhance the look of your trash can fence. Use a garden fence or install climbing plants along the screen panel to create a natural and appealing aesthetic. This method not only conceals garbage bins but also adds curb appeal to your home.
Use Decorative Elements Strategically
Enhance your privacy screen with decorative features. For instance, you could use fence posts capped with stylish finials or add miter cuts to the edges of wooden slats for a refined finish. Additionally, incorporating metal stakes or spacers can provide both stability and an elegant appearance.
Build Multi-Functional Enclosures
Maximize your space by designing multi-functional enclosures. Combine your trash can enclosure with storage sheds or spaces for air conditioner units, ac unit covers, or pool equipment housing. A well-planned enclosure not only hides eye sores such as outdoor trash cans and garbage can containers but also organizes other outdoor essentials efficiently.
When building your outdoor privacy screen or trash can screen, consider using no dig methods and follow step by step tutorials to ensure sturdy construction without extensive soil disruption. Brands like Suncast offer various solutions for every need, from lattice privacy screens to complete enclo privacy screens setups.
For expert advice and high-quality vinyl fencing solutions, call us at (310) 773-0275.
